You must start by assessing and repairing mortar and loose brick, because proper surface preparation ensures paint adhesion and longevity; you should use breathable masonry paint to avoid trapped moisture, and be aware that older homes may contain lead-based paint, which is a serious health hazard requiring testing and professional abatement; hiring experienced Columbus painters delivers durable, weather-resistant results and helps you avoid costly mistakes.
Key Takeaways:
- Prepare thoroughly: clean the brick (pressure wash at low pressure), remove efflorescence, repair mortar, and fix any water infiltration before painting.
- Choose breathable masonry products: use a masonry primer and high-quality acrylic/masonry paint that allows vapor permeability rather than impermeable coatings.
- Apply paint in the right conditions and maintain it properly: use it during dry, moderate temperatures common to Columbus, apply thin, even coats with proper tools, and inspect periodically for peeling or moisture damage.
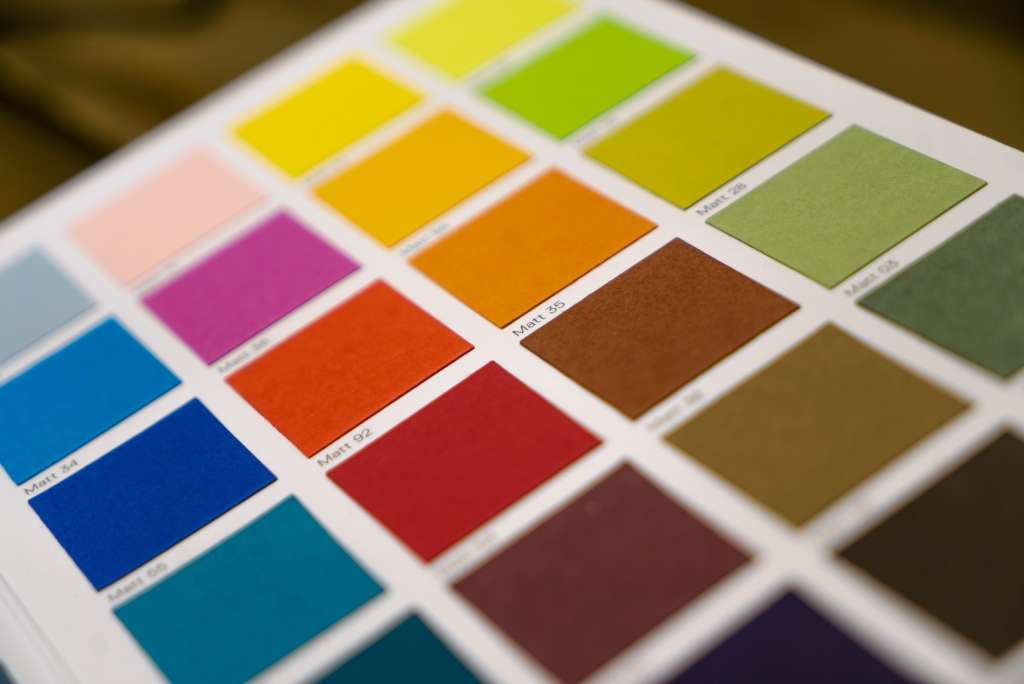
Selecting the Right Paint: Key Factors to Consider
Assess porosity, mortar condition, and local freeze-thaw exposure to determine the best primer and paint. You can perform a 60-second water test: if water soaks in, use a penetrating primer first. Favor breathable, high‑quality acrylic latex for Columbus exteriors and select pigments with UV stabilizers for color retention. Target primers rated for masonry and plan for prep: power wash at 1,500–2,000 psi and repair joints larger than 3 mm. Any delayed repointing increases blistering and paint failure on older brick.
- Porosity — absorption rate guides primer choice
- Moisture — check for efflorescence and interior damp spots
- Breathability — masonry needs vapor‑permeable systems
- UV resistance — pigments and binders matter for color hold
- VOC — local limits and indoor air quality
| Porosity | 60‑sec water test; >10% absorption → penetrating primer |
| Moisture | Infrared/CMC tests or hygrometer; avoid painting if RH>70% |
| Climate | Columbus: seasonal freeze‑thaw—use breathable coatings |
| Primer | Masonry primers with silicate or acrylic bonding agents |
| Color/Sheen | LRV>50 reduces heat gain; low‑sheen hides texture |
Choosing Between Acrylic and Oil-Based Options
You should favor 100% acrylic latex for exterior brick, as it provides elasticity (up to 150% elongation), strong breathability, quick surface dry time (1–2 hours), and typical repaint cycles of 10–20 years on well-prepped masonry. Oil-based paints dry more slowly (8–24 hours), retain gloss longer, and are suitable for trim or metal, but can trap moisture in porous brick and contribute to spalling; avoid using oil-based paint on damp or highly porous masonry. Check VOC limits and manufacturer masonry ratings.
Evaluating Finish Types for Longevity and Aesthetics
Flat finishes conceal uneven brick but offer limited washability. Eggshell and satin strike a balance—satin resists mildew and wipes clean with a mild detergent, while minimizing texture glare. Semi-gloss is easiest to clean, but it highlights mortar and brick irregularities, often requiring more meticulous preparation. Choose a low-to-mid sheen to preserve the brick’s character while improving resistance to dirt and mildew.
- Flat — hides imperfections, lower washability.y
- Eggshell — low sheen, better cleanability than flat
- Satin — best balance for exterior brick; mildew resistant
- Semi‑gloss — highest cleanability, emphasizes texture
- Assume that you select satin for high‑traffic exposures to extend maintenance intervals
| Flat | Use on historicfaçadess where texture masking is primary |
| Eggshell | Best for low‑soiling walls with occasional cleaning |
| Satin | Ideal for the balance of durability and aesthetics on exteriors |
| Semi‑gloss | Use sparingly on accent elements or trim |
| Gloss | Rare on masonry—shows every defect |
Expect an average dry film thickness of 2–4 mils per coat; masonry jobs typically require two finish coats after primer, for a total of 4–8 mils. Use finishes with at least 35% resin solids for durability, apply with a 3/”” nap roller on rough brick, and test a 3×3 ft sample on north/south exposures to verify sheen and adhesion before full application.
- Dry film thickness — target 4–8 mils total
- Resin solids — 35%+ improve longevity
- Roller nap — 3/”” for rough masonry
- Test patch — 3×3 ft on varied exposures
- Assume that you follow the manufacturer’s recoat windows and warranty conditions to secure performance
| Target DFT | 4–8 mils total (two finish coats) |
| Coats | Primer + 2 finish coats on clean, dry masonry |
| Recoat window | Follow product: typically 4–24 hours between coats |
| Cleaning | Mild detergent and soft brush; avoid pressure >2,000 psi |
| Expected lifespan | 8–20 years depending on prep, finish, and exposure |
Preparing Your Brick Surface: The Crucial First Step
Remove loose paint and crumbling mortar with a wire brush and a low-pressure washer set to 500–800 psi, testing a 2×2 ft area first. Knock down efflorescence with a stiff nylon brush and a mild cleaner, then let the wall dry for at least 24 hours to reveal hidden damage. Address mortar gaps and any signs of water infiltration before priming or painting to avoid trapped moisture under the new coating.
Proper Cleaning Techniques for Brick
Use a combination of mechanical brushing and low-pressure washing to prevent softening the brick face. Opt for a 15–25° spray angle and keep the nozzle 12–18 inches away from the surface. Treat stubborn salts or stains with a diluted muriatic solution (typically 10:1 water to acid) or TSP, applying carefully and rinsing thoroughly while wearing goggles and gloves. Always patch-test and allow 24 hours to confirm full drying before moving to repairs.
Assessing and Repairing Existing Damage
Scan for spalling, flaking, hairline cracks, and mortar loss exceeding ¼ inch; those conditions mandate repair before painting. Replace badly spalled bricks, remove deteriorated mortar for tuckpointing, and inspect flashings and window sills for sources of water entry. Prioritize areas on north-facing walls or near grade in Columbus where freeze–thaw cycles commonly accelerate damage.
When tuckpointing, match the mortar type and joint profile—use Type N for most above-grade work and pre-wet joints to promote bonding. Fully pack joints, cure mortar according to the manufacturer’s instructions, and allow at least 7–28 days for moisture to equilibrate before priming; shorter waits risk blistering or peeling. For recurring leaks or heavy efflorescence, trace the source (gutters, flashing, grading) and repair those systems rather than just patching masonry.
Mastering Application Techniques for a Flawless Finish
Balance tool selection, layering strategy, and site conditions so your paint bonds and breathes on brick. Aim for two thin coats in most cases, allow for proper flash and tack times, and factor in Columbus humidity to prevent trapped moisture and subsequent peeling. You’ll achieve a uniform look and longer life by combining the right equipment with measured wet-film thickness and consistent back-rolling over mortar joints.
Tools of the Trade: Brushes vs. Sprayers.
You’ll use an airless sprayer (0.015–0.02 “tip, 1500–3000 psi) to cover largefaçadess quickly—pros report up to 70% faster application—while a nylon/polyester masonry brush and a ¾ “nap roller handle detail, mortar cavities, and touch-ups. Always back-roll sprayed sections to force paint into pores; avoid overspray near windows and plants, and wear a NIOSH-rated respirator for safety.
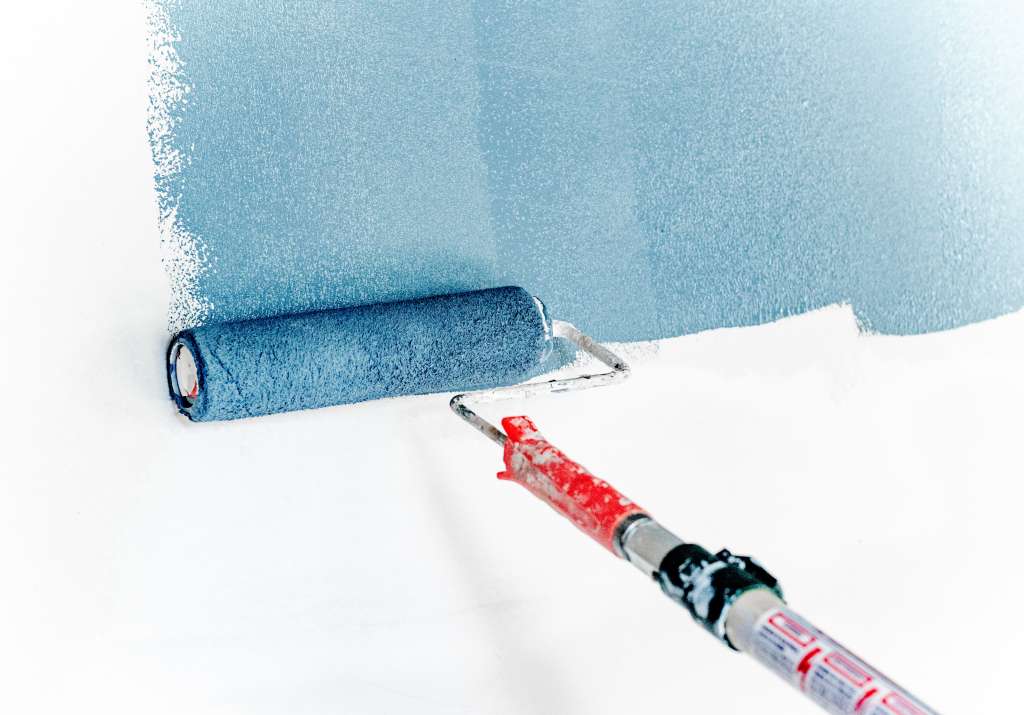
Layering: The Importance of Thin Coats
Apply thin, even coats—targeting about 4–6 mils wet per pass—to let solvents evaporate and solvents and moisture escape through the masonry. Plan for at least two coats for standard color changes and three for drastic shifts; wait 4–8 hours between coats at 60–75°F and under 60% humidity, and longer in Columbus’ summer humidity to prevent blistering.
Measure coverage and porosity before full application: highly porous brick may consume 200–300 sq ft/gal, meaning thinner layers help you control film build without oversaturation. Use a wet-film comb or gauge to verify that each coat stays within manufacturer specifications—exceeding ~8 mils wet traps moisture and raises the failure risk. If you’re shifting from dark to light, test a 4–6 mil base coat plus a 4–6 mil top coat; contractors in Columbus often add a third coat only where absorption varies. Proper cure windows (24–48 hours for full cure under ideal conditions) and back-rolling every coat ensure penetration into mortar joints and long-term adhesion.
Maintaining Your Painted Brick: Keeping It Fresh
Schedule a light inspection and cleaning every 6–12 months, with a deeper review after winter’s freeze–thaw and heavy storms. Address mortar deterioration and caulk failures promptly to prevent water intrusion; a properly prepped and painted masonry job typically lasts 10–15 years, but localized repairs and touch-ups will keep your finish looking like new and prevent costly repaints.
Routine Cleaning and Touch-Up Strategies
Use a soft-bristled brush and a pH-neutral detergent, or a pressure washer set to 500–800 psi at a distance of 3–4 feet for stubborn grime. Always test a small area first. Keep a 4–8 oz sample pot of your exact color and masonry primer for chips—scuff loose edges, prime bare brick, and feather in touch-ups with a small brush to blend texture and sheen.
Recognizing Signs of Wear Before It’s Too Late
Watch for flaking, blistering, white efflorescence, black mildew streaks, heavy chalking, hairline cracks wider than 1/16 inch, or crumbling mortar—each indicates trapped moisture or failed adhesion and raises the risk of structural damage if left untreated.
Inspect vulnerable areas, such as window sills, chimneys, and mortar joints, after the spring thaw has passed. If mortar crumbles under light pressure or a fingernail catches in a crack, schedule repointing and localized paint removal within weeks. Allow repaired surfaces to dry for 48–72 hours before repainting. Apply coatings when temperatures are between 50°F and 85°F, with humidity below 70%, for proper curing.
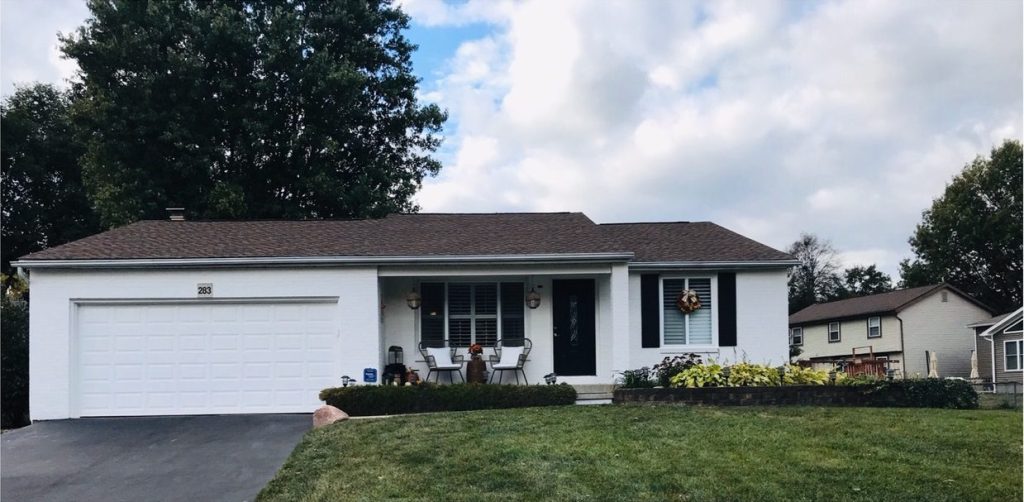
Lessons From Local Experts: Insights from Columbus House Painters
Columbus crews report that thorough preparation—power washing, repointing, and a masonry primer—dramatically cuts repaint cycles. A typical 1,500 sq ft brick façade requires 3–6 days of work and can last 10–15 years with breathable coatings. You should plan for 24–72 hour drying windows after washing and expect slightly longer cure times during high humidity months in central Ohio.
Common Myths Debunked by Professionals
Myth: Painted brick always peels — in practice, peeling stems from poor preparation or incorrect coatings. Breathable acrylics, paired with a masonry primer, prevent trapped moisture and reduce failures. Myth: You must sand everything — pros often use targeted scraping and a 1–2 hour etch wash instead. In one 2022 Columbus duplex, switching to a silicate wash cut touch-ups by 70%.
- brick painting
- masonry primer
- breathable acrylic
After crews test adhesion on a small area, they standardize the coating system for the whole job.
Insider Tips to Enhance Your Painting Project
Begin with a 1–2 ft² adhesion test, then power wash at a pressure of under 1,500 psi to avoid mortar damage. Allow 48–72 hours for the surface to dry before priming. Use a 3/””–”nap roller for rough brick and always back-brush sprayed coats to work paint into joints. You should schedule exterior work for mid-week to facilitate faster permit and material deliveries in Columbus.
Set up scaffold access for any elevations over two stories; this improves safety and finish consistency compared with ladders. Back-brushing after spraying increases coverage by roughly 20% on textured brick, and caulking cracks with a flexible masonry sealant prevents moisture migration. For color testing, paint three 2×2 ft swatches facing north, south, and east to view sun and shadow effects.
- power wash
- back-brushing
- scaffold
After verifying swatch performance in different lighting conditions, lock in the final color and schedule the crew.
Conclusively, when painting brick the right way—drawing on the insights of Columbus, Ohio, house painters—you should start with thorough cleaning and mortar repair, apply a high-quality masonry primer, choose breathable exterior paint, and use proper brushes or rollers for even coverage. Work in dry, mild weather and allow ample curing time between coats. Following these steps protects your brick, enhances curb appeal, and extends the life of your paint job.
FAQ
Q: What preparatory steps are needed before painting brick?
A: Inspect and repair loose mortar or cracked bricks (repointing as needed). Remove dirt, mildew, and efflorescence with a masonry cleaner and low- to moderate-pressure wash (typically 500–1,500 psi). Use a wire brush for stubborn deposits. Allow patched mortar to cure (commonly 7–28 days) and the wall to dry fully (usually 48–72 hours in dry conditions). Mask and protect adjacent surfaces, and apply a masonry primer after the surface is clean and dry.
Q: Which paint and primer types work best on brick in Columbus?
A: Use breathable masonry products: 100% acrylic exterior masonry paint or mineral/silicate paints for historic or highly porous brick. Elastomeric coatings can bridge fine hairline cracks on very porous surfaces, but choose breathable formulations rated for freeze–thaw cycles. Apply a masonry-bonding primer or a primer formulated to block salts and promote adhesion. Avoid non-breathable oil-based or film-forming sealers that trap moisture.
Q: How do I prevent moisture problems after painting brick?
A: Maintain vapor-permeability by selecting breathable paints and primers. Repair flashing, sagging gutters, and failing seals to stop water intrusion. Keep mortar joints sound and clear weep holes. Do not paint damp brick or apply impermeable clear sealers. Proper prep, good caulking around openings, and routine gutter maintenance reduce the risk of trapped moisture and paint failure.
Q: How long will painted brick last, and what maintenance is required?
A: With proper prep and quality materials, painted brick typically lasts 8–15 years before a full repaint is needed; high-quality systems and excellent prep can reach 15–20 years. Expect earlier touch-ups for high-exposure areas. Maintenance: Wash gently with a mild detergent and a low-pressure rinse to remove dirt and mildew. Inspect and repair cracked mortar and caulking, and address peeling or chalking spots promptly to prevent larger failures.
Q: Should I hire a Columbus house painter or do it myself? What costs and timing should I expect?
A: Hire a pro for extensive repairs, multi-story work, scaffold use, or if you lack experience with masonry coatings—professionals bring equipment, local climate experience, and warranties. The best season is late spring through early fall, when temperatures range from approximately 50°F to 85°F and conditions remain dry for at least 24–48 hours. Typical exterior brick painting costs often range from approximately $2 to $6 per square foot, depending on the preparation, repointing, the number of coats, and the quality of the paint. Obtain multiple written estimates and verify insurance and references to ensure accuracy.

James Schrienk, a resident of Columbus, OH, is the proud owner of 3S Painting. With a wealth of experience in managing businesses of various scales, his expertise lies in project and people management. Jim thrives in team environments, always focusing on labor efficiency and delivering high-quality client results. His leadership style and practical communication skills have made him an exceptional manager and a driving force behind the success of 3S Painting. When he’s not leading his team to excellence, Jim enjoys continuously exploring innovative strategies to improve customer satisfaction.