Planning ahead for an interior painting project is essential to ensure a smooth and successful outcome. Here are some tips to help you get organized and achieve professional-looking results:
1. Set a Budget: Determine how much you can afford to spend on your interior painting project. Consider the cost of paint, supplies, and any professional help you may need.
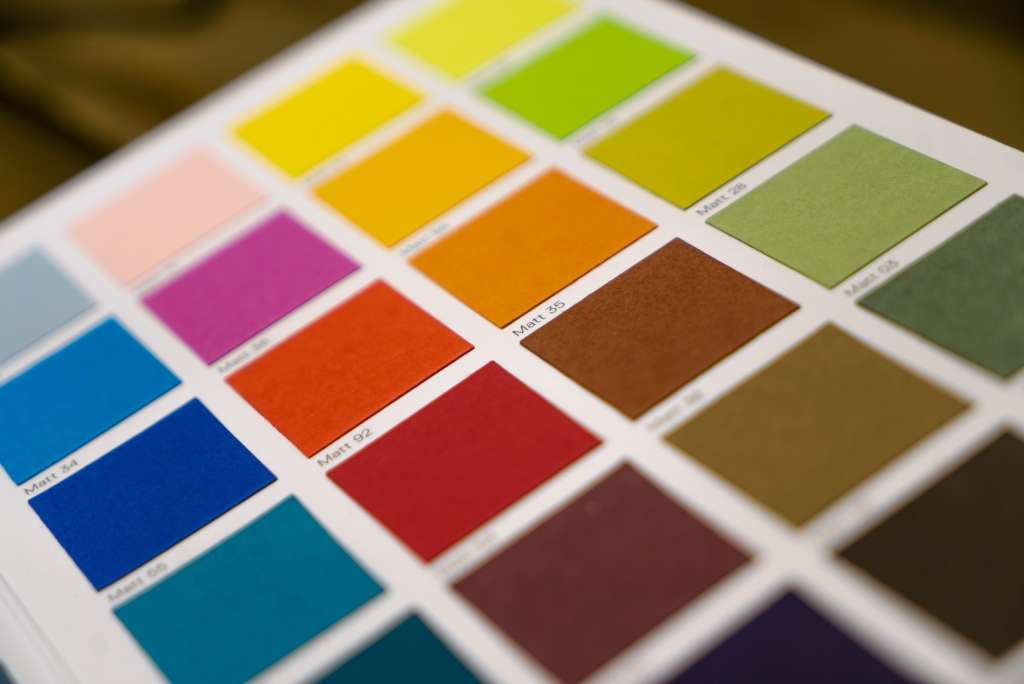
2. Choose Your Paint: Select the right type and color of paint for your project. Consider factors like the room’s purpose, lighting, and your personal preferences. Sample paint swatches on your walls to see how they look in your space before making a final decision.
3. Gather Supplies: Make a list of all the supplies you’ll need, including paint, brushes, rollers, drop cloths, painter’s tape, sandpaper, and paint trays. Having everything on hand before you start will save you time and frustration.
4. Prepare the Space: Clear the room of furniture and cover any remaining items with drop cloths or plastic sheeting. Remove or cover light fixtures, outlet covers, and switch plates. Use painter’s tape to protect baseboards, trim, and any areas you don’t want to paint.
5. Clean and Repair: Thoroughly clean the walls to remove dust, dirt, and grease. Repair any holes or cracks with spackling compound and sand them smooth once they dry.
6. Sand and Prime: If you’re painting over glossy or uneven surfaces, sand the walls lightly to create a better surface for the paint to adhere to. Then, apply a coat of primer to ensure even coverage and better adhesion for the paint.
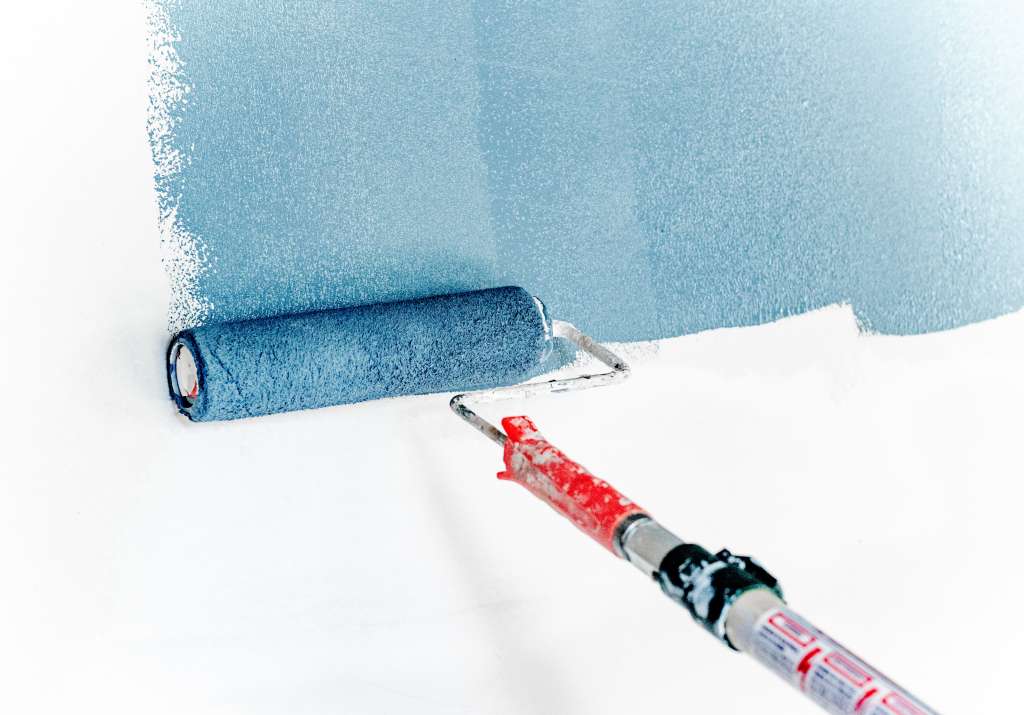
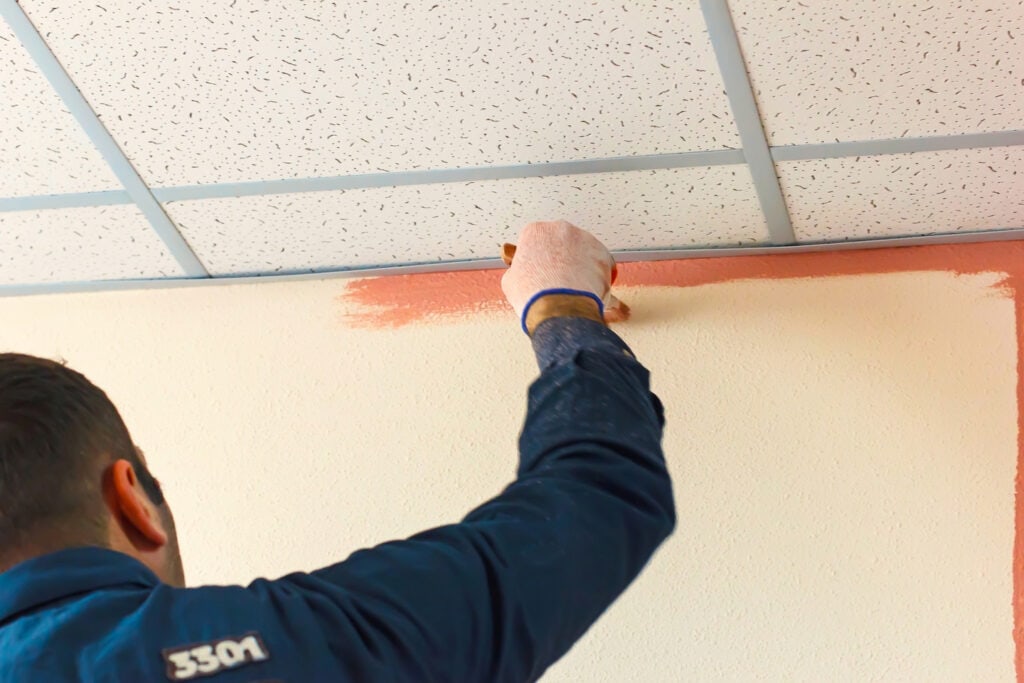
7. Choose the Right Painting Technique: When painting walls, start with the edges and corners using a brush, then use a roller for the larger areas. Paint in smooth, even strokes and maintain a wet edge to avoid visible lines where the paint dries.
8. Multiple Coats: Depending on the color and the condition of the walls, you may need to apply multiple coats of paint. Allow each coat to dry completely before applying the next one.
9. Proper Ventilation: Ensure good ventilation while painting by opening windows and using fans. This helps with drying and reduces the inhalation of paint fumes.
10. Clean Up: Once you’ve finished painting, clean your brushes and rollers thoroughly. Remove painter’s tape while the paint is still slightly damp to prevent peeling. Reinstall outlet covers, switch plates, and light fixtures.
11. Inspect and Touch Up: After the paint has dried completely, inspect the walls for any imperfections or missed spots. Touch up as necessary.
12. Dispose of Paint Properly: Follow your local regulations for disposing of paint cans and materials. Some areas have specific recycling or disposal requirements for paint.
13. Keep Records: Record the paint colors and brands used in case you need to touch up or repaint in the future.
14. Consider Professional Help: If you’re unsure about your painting skills or have a large project, it may be worth hiring a professional painter for the best results. Have questions or don’t know where to get started? Give us a call and get a free estimate today!
Remember that proper planning and preparation are key to achieving a professional-looking interior paint job. Taking the time to do it right will result in a beautiful and long-lasting finish.
FAQ
Why is planning ahead crucial for a successful interior painting project?
Planning ahead ensures a smoother, faster painting process, minimizes disruptions, and helps you avoid costly mistakes or delays. By preparing your space, finalizing color choices, and confirming responsibilities with your painting team, you set the stage for a high-quality, long-lasting finish that truly transforms your home.
How can I creatively choose colors that reflect my personality and still work for my space?
Think beyond trends—consider how different colors affect your mood and the function of each room. Try out digital color visualizers or paint samples on your walls to see how light and time of day change the hues. Don’t be afraid to experiment with bold accent walls or unique finishes, but ensure the palette flows harmoniously throughout your home.
What are the most overlooked steps in preparing a room for painting?
Many people forget to clear the walls of artwork and shelves, move or cover furniture strategically (not just piling it in the center), and protect small fixtures like doorknobs and switch plates. Properly cleaning and repairing surfaces, ensuring good ventilation, and communicating with your painters about expectations are also often missed but essential steps.
How can I minimize disruption to my daily life during a large-scale painting project?
Designate a “safe haven” room or area in your home where you and your family can retreat from the chaos. If the project is extensive, consider scheduling painting in phases or even booking a short stay elsewhere. Clear communication with your painting team about timelines and access can also help reduce stress and surprises.
What are some creative ways to make my interior painting project truly unique?
Explore techniques like color drenching (using one color on all surfaces in a room), painting ceilings in unexpected shades, or highlighting architectural features with contrasting colors. Layering colors, using stencils, or adding texture can also give your space a personalized, artistic touch that goes beyond a simple color change.

James Schrienk, a resident of Columbus, OH, is the proud owner of 3S Painting. With a wealth of experience in managing businesses of various scales, his expertise lies in project and people management. Jim thrives in team environments, always focusing on labor efficiency and delivering high-quality client results. His leadership style and practical communication skills have made him an exceptional manager and a driving force behind the success of 3S Painting. When he’s not leading his team to excellence, Jim enjoys continuously exploring innovative strategies to improve customer satisfaction.