Caulking is an essential home maintenance task that helps seal gaps, prevent drafts, and keep moisture out of vulnerable areas. Whether you’re sealing the edges of your bathtub, filling gaps in baseboards, or making sure windows are airtight, caulking can protect your home from water damage, energy loss, and even pests. However, improper caulking can lead to unsightly messes or damage, making it important to understand the correct techniques.
In this blog, we’ll guide you through the proper steps of using caulk effectively, covering everything from choosing the right type of caulk to applying it smoothly and efficiently. With the right approach, caulking can be a simple and rewarding DIY task that helps maintain your home’s durability and appearance.
Caulking might seem like a small detail in the grand scheme of home improvement, but it plays a critical role in keeping your home functional and well-maintained. Caulk serves as a sealant for cracks, gaps, and seams, protecting against water infiltration, air leaks, and the buildup of mildew and mold. Yet, while caulking is a relatively straightforward process, it’s also easy to get wrong if you’re not careful.
Improperly applied caulk can lead to gaps, cracks, or uneven finishes, which look bad and fail to perform their intended function. Learning how to caulk properly will ensure your home is well-sealed, energy-efficient, and resistant to water damage. Let’s dive into the key steps of caulking, from choosing the right caulk to mastering the technique.
1. Choosing the Right Type of Caulk
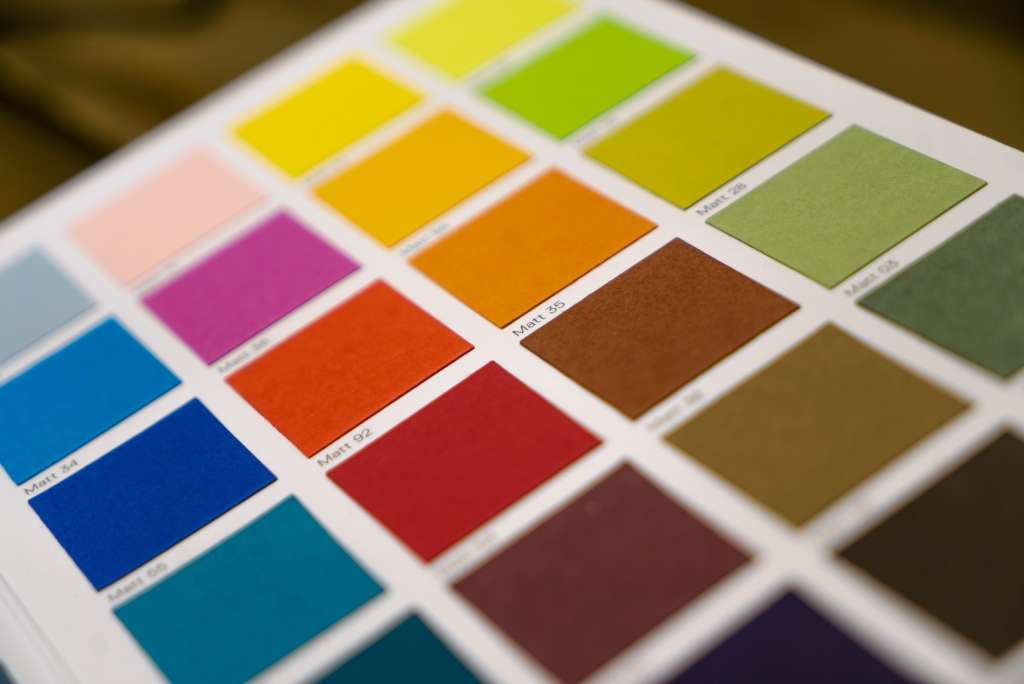
The first step to using caulk properly is selecting the right type for the job. Not all caulk is created equal, and the specific material you use will depend on the project at hand. Here are some of the most common types of caulk and their ideal applications:
- Acrylic Latex Caulk: Also known as painter’s caulk, this type of caulk is easy to apply, quick to dry, and can be painted over once it’s set. It’s perfect for interior use, especially for sealing gaps around baseboards, trim, and moldings. However, it’s not suitable for areas exposed to water or moisture, like bathrooms and kitchens.
- Silicone Caulk: Silicone is highly durable and waterproof, making it the best choice for areas exposed to moisture, such as bathrooms, kitchens, and around windows. Silicone caulk is flexible and resistant to mold and mildew, but it cannot be painted over, so choosing a color that matches your surface is essential.
- Polyurethane Caulk: This type of caulk is highly elastic, making it ideal for exterior projects where surfaces may expand or contract with temperature changes. Polyurethane caulk is durable and resistant to weather elements, but it can take longer to cure than other types.
- Adhesive Caulk: This caulk doubles as a sealant and an adhesive, making it useful for bonding materials like wood or metal. It’s perfect for areas where you need a strong seal and an adhesive bond.
Choosing the right caulk for your project ensures that the material will perform as expected, providing long-lasting protection and a clean finish.
2. Preparing the Surface for Caulking
Proper surface preparation is key to achieving a smooth and long-lasting caulking job. Any dirt, old caulk, or debris can prevent the new caulk from adhering properly, leading to poor results. Follow these steps to prepare your surface before applying caulk:
- Remove old caulk: If you’re re-caulking an area, removing the old caulk before applying the new layer is important. Use a utility knife or caulk removal tool to carefully cut away the old caulk, ensuring that you don’t damage the surrounding surfaces. For stubborn spots, you can use a caulk softener to make removal easier.
- Clean the surface: After removing the old caulk, clean the area thoroughly to ensure no dust, dirt, or grease remains. For areas prone to mold and mildew, such as showers or sinks, clean the surface with a mixture of bleach and water to kill any lingering mold spores. Wipe the surface dry before proceeding.
- Tape off edges: If you’re concerned about getting a clean, professional-looking finish, use painter’s tape to mask off the areas on either side of the gap you’ll be caulking. This will help create straight, crisp lines and prevent excess caulk from smearing onto adjacent surfaces.
Taking the time to properly clean and prepare the surface ensures that the caulk will adhere well and create a tight, effective seal.
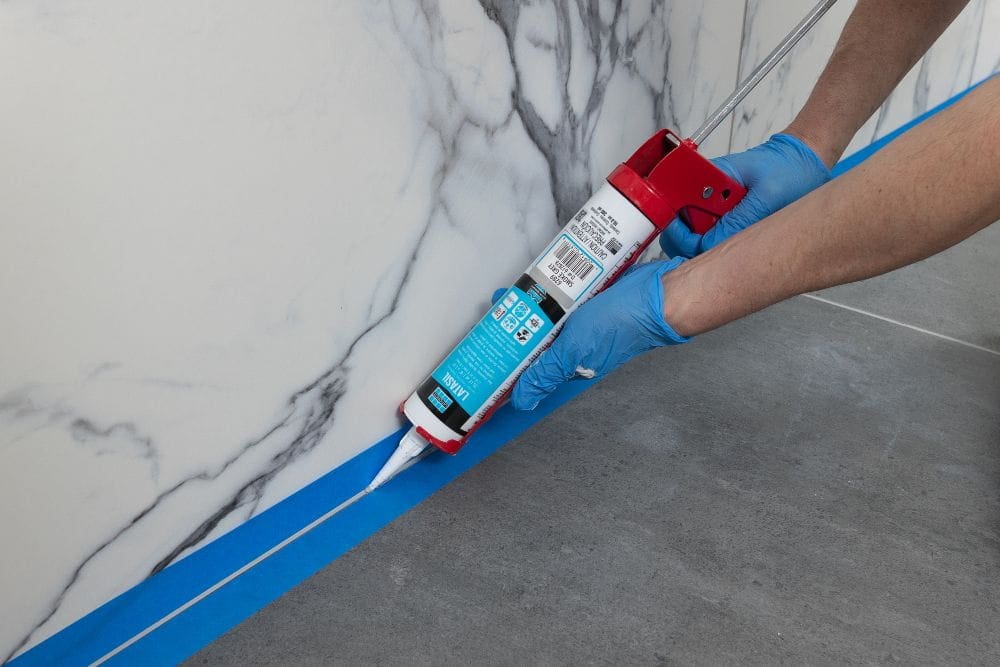
3. Applying Caulk Like a Pro
Now that your surface is prepped and ready, it’s time to apply the caulk. Whether you’re a DIY novice or have some experience, these tips will help you achieve a smooth, professional finish:
- Cut the caulk tube correctly: Use a utility knife to cut the tip of the caulk tube at a 45-degree angle. The size of the opening should be slightly smaller than the gap you’re filling. For large gaps, cut a larger hole; for small gaps, cut a smaller one. A precise cut will give you better control over the flow of caulk.
- Load the caulk gun: Insert the caulk tube into your caulk gun, making sure the plunger is fully retracted before placing the tube inside. Once the tube is secured, gently squeeze the trigger until the caulk begins to flow out of the nozzle.
- Apply steady pressure: Begin at one end of the seam and squeeze the trigger of the caulk gun while moving it slowly and steadily along the gap. Maintain even pressure on the trigger to create a consistent bead of caulk. Don’t rush—moving too fast can result in uneven application, while moving too slowly can cause excess caulk to pile up.
- Smooth the caulk bead: After applying the caulk, use a caulk smoothing tool, a damp finger, or a wet cloth to smooth the bead and press it into the gap. This step not only improves the appearance of the caulk but also ensures a tight seal. Make sure to wipe off any excess caulk as you go to prevent messy build-up.
- Work in sections: For large projects, work in small sections to prevent the caulk from drying before you have a chance to smooth it. Silicone caulk, in particular, can dry quickly, so it’s important to keep this in mind when working on larger areas.
A steady hand and attention to detail will help you achieve a smooth, professional-looking caulk line that performs well over time.
4. Allowing Caulk to Cure and Setting Time
Once you’ve applied the caulk, it’s important to allow it to cure properly before exposing it to moisture or other elements. The curing time can vary depending on the type of caulk and environmental conditions, but here are some general guidelines:
- Silicone caulk: Typically, silicone caulk will be dry to the touch within 30 minutes to an hour, but it may take 24 to 48 hours to fully cure. Avoid using the area during this time, especially if it’s in a high-moisture location like a shower.
- Acrylic latex caulk: This type of caulk usually dries to the touch within 30 minutes and can be painted over in about two hours. However, for a full cure, it’s best to wait 24 hours before using the area.
- Polyurethane caulk: Polyurethane caulk can take longer to cure—up to several days, depending on humidity and temperature. Be sure to check the manufacturer’s instructions for specific curing times.
While it can be tempting to use the area right away, giving the caulk ample time to cure ensures that it forms a strong, watertight seal that will last for years.
5. Maintaining Your Caulk for Longevity
Even if you’ve applied caulk perfectly, it will eventually wear out and need maintenance. To extend the lifespan of your caulk and ensure it continues to perform well, follow these maintenance tips:
- Inspect regularly: Periodically check caulked areas for signs of cracking, peeling, or mold. Bathrooms, kitchens, and windows are especially prone to caulk deterioration due to moisture exposure, so it’s important to inspect these areas regularly.
- Clean caulked surfaces: Keep caulked surfaces clean by wiping them down regularly, especially in areas exposed to moisture. Use a mild soap or vinegar solution to clean the caulk and prevent mold or mildew buildup.
- Reapply caulk when necessary: If you notice cracks or gaps forming, it’s time to remove the old caulk and apply a fresh bead. Don’t try to apply new caulk over old caulk—it won’t adhere properly and could result in a weak seal.
By maintaining your caulk and addressing issues early, you can keep your home protected from drafts, leaks, and damage.
Caulking is a simple yet vital task that can make a big difference in maintaining your home. Whether you’re sealing a bathroom, weatherproofing windows, or filling in cracks in baseboards, mastering the proper caulking technique ensures that your work is both effective and visually appealing.
By selecting the right type of caulk, properly preparing the surface, and applying it carefully, you’ll create long-lasting seals that protect against water damage, improve energy efficiency, and maintain the beauty of your home. With regular maintenance and attention to detail, caulking can become an easy part of your home care routine, keeping your living space well-sealed and looking its best for years to come.
With the detailed guidance and expert tips from 3S Painting, you can significantly improve the durability and aesthetics of your work. By applying these step-by-step techniques, you’ll ensure a seamless finish that enhances both functionality and appearance. Embrace these skills to elevate your DIY endeavors and enjoy the satisfaction of a job expertly done.
FAQ
How does the choice of caulk type influence the longevity and effectiveness of your seal?
Selecting the right caulk is more than a technicality—it’s the foundation of a lasting seal. Silicone caulk excels in wet areas like bathrooms due to its water resistance and mold prevention, while acrylic latex is ideal for interior trim because it can be painted over. Using the wrong type can lead to premature failure, wasted effort, and even structural issues, so always match the caulk to the environment and surface for optimal results.
Why is surface preparation often considered the “hidden art” behind flawless caulking?
Even the best caulk can fail if applied to a dirty, damp, or greasy surface. Proper preparation—removing old caulk, cleaning thoroughly, and ensuring dryness—ensures strong adhesion and a smooth finish. Skipping this step is a common mistake that can turn a professional-looking job into a peeling, cracking mess within months.
What creative techniques can help you achieve a perfectly smooth caulk line every time?
Achieving a pro-level bead isn’t just about steady hands. Using painter’s tape for crisp edges, cutting the nozzle at a 45-degree angle for better control, and smoothing the bead with a damp finger or finishing tool are all secrets of the trade. For tight spaces, a plastic straw can even be used to apply caulk where a gun won’t fit. These small tricks can elevate your results from amateur to artisan.
How can you tell when it’s time to re-caulk, and what are the risks of waiting too long?
Visible cracks, gaps, peeling, or crumbling caulk are clear signs it’s time to re-caulk. Ignoring these warning signs can lead to moisture intrusion, drafts, pest entry, and even hidden mold growth. Regular inspection and timely maintenance not only protect your home but also save you from costly repairs down the line.
What are the most common caulking mistakes, and how can you turn them into learning opportunities?
Mistakes like using too much or too little caulk, skipping tape, or cutting the nozzle incorrectly are common but fixable. Each error is a chance to refine your technique: practice on scrap material, adjust your pressure, and always remove excess caulk before it dries. Embracing these lessons transforms frustration into mastery, making every project smoother than the last.

James Schrienk, a resident of Columbus, OH, is the proud owner of 3S Painting. With a wealth of experience in managing businesses of various scales, his expertise lies in project and people management. Jim thrives in team environments, always focusing on labor efficiency and delivering high-quality client results. His leadership style and practical communication skills have made him an exceptional manager and a driving force behind the success of 3S Painting. When he’s not leading his team to excellence, Jim enjoys continuously exploring innovative strategies to improve customer satisfaction.