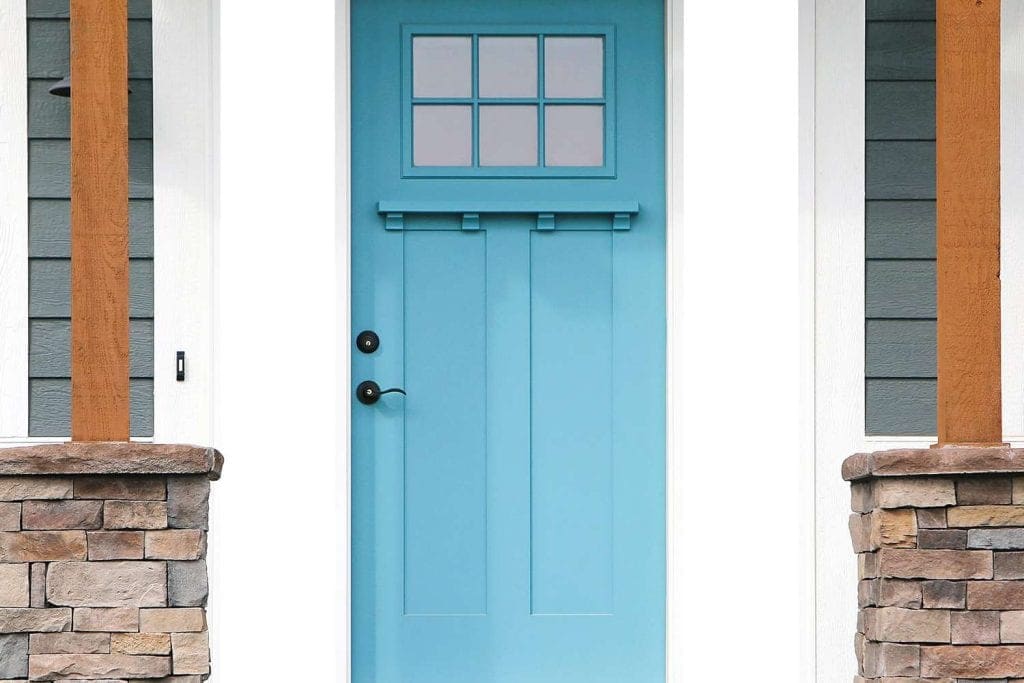
Painting Your Front Door For A Stunning Transformation
Painting your front door is a simple weekend upgrade that can dramatically elevate curb appeal. A clean, well-finished door also protects the surface from sun, moisture, and everyday wear, so the project is as practical as it is visual.
This guide walks through the full process—choosing the right products, prepping the surface correctly, and applying paint in a way that looks smooth up close (not just from the street).
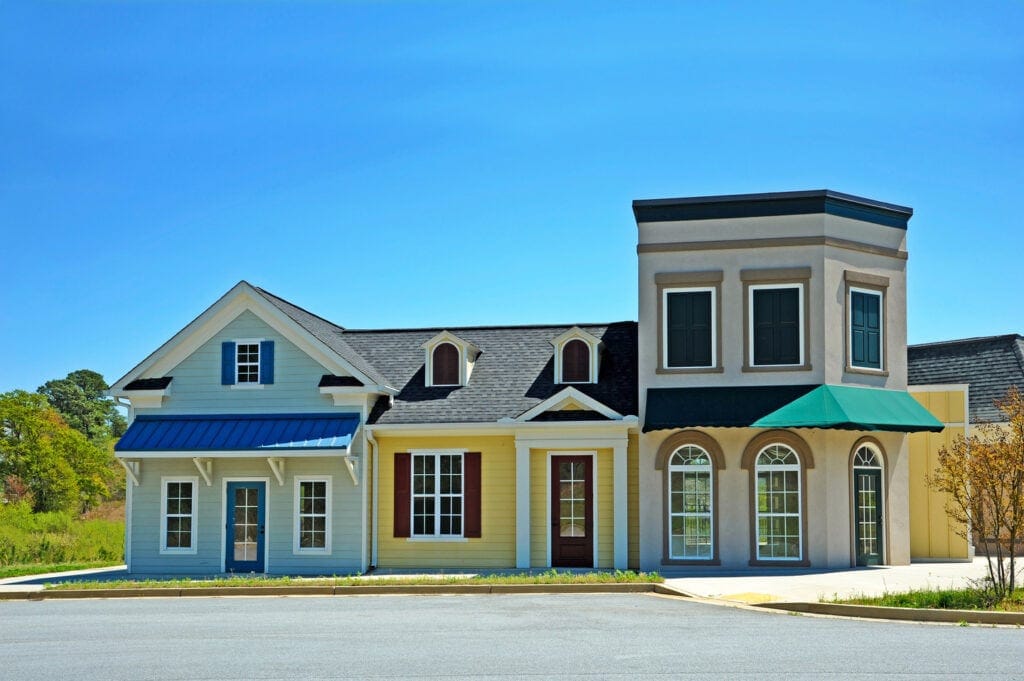
Why a front door repaint is worth it
Your entryway is the “handshake” of your home—neighbors, guests, and potential buyers notice it first. A new color can modernize the exterior, make trim and landscaping pop, and help the home feel more cared for without major renovation.
It’s also one of the few exterior projects where a small surface area can create an outsized design impact.
Tools and materials checklist
Having everything ready prevents rushed shortcuts (which is where most DIY paint jobs go wrong).
Supplies
-
Exterior door paint (quality matters here; choose an exterior-rated formula)
-
Primer (only if needed—see primer section below)
-
Angled sash brush (for profiles, edges, and panels)
-
Foam roller + tray (for flat areas and a cleaner texture)
-
Painter’s tape (glass, weatherstripping, hinges if staying on)
-
Drop cloths or rosin paper (floors, porch, and steps)
-
Sandpaper (120–150 grit for prep; 220 for smoothing between coats)
-
Cleaning supplies (mild soap + water; optional degreaser)
-
Screwdriver/drill (hardware removal)
-
Optional: wood filler / patch compound (minor dings), caulk (small gaps), tack cloth
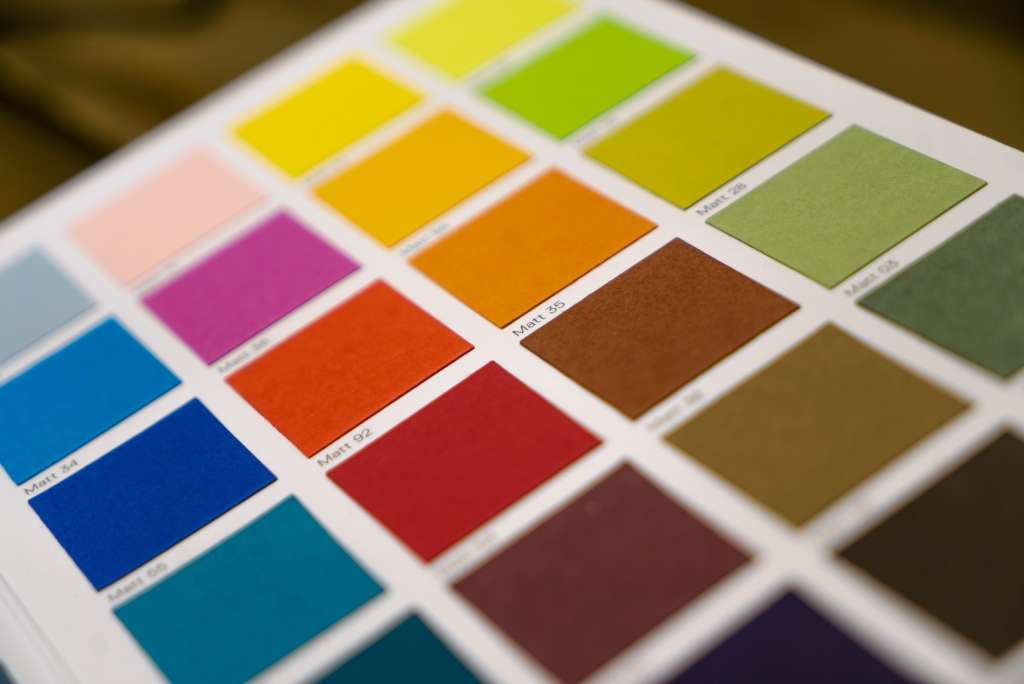
Picking paint that holds up outdoors
Best paint type
Use an exterior-grade paint designed for doors and trim so it resists fading, scuffing, and moisture exposure. Water-based options are convenient for cleanup and typically dry faster, while oil-based products can level nicely but take longer and require solvent cleanup.
Best sheen for a door
For most homes, semi-gloss is the sweet spot: it’s easier to wipe clean than flat/matte and it highlights a crisp finish without showing every flaw as aggressively as high gloss.
Prep work (the part that makes it look professional)
1) Decide: paint on-hinge or off-hinge
-
Off-hinge (best finish): easier to paint edges evenly and reduces drips.
-
On-hinge (more convenient): works fine if you protect hinges, weatherstripping, and thresholds carefully.
If you remove the door, set it flat on stable supports (sawhorses or a sturdy work table) and protect the area underneath.
2) Remove or mask hardware
Remove knob, deadbolt, latch, kick plate, door numbers, and accessories when possible. If something must stay, mask tightly so paint can’t creep underneath.
3) Clean like paint depends on it (because it does)
Exterior doors collect invisible oils, dust, and residue. Wash the surface, rinse if necessary, and let it dry completely. If the door is near a grill, garage, or busy street, a degreaser can help.
4) Sand for bonding and smoothness
Light sanding helps new paint grip. Focus on:
-
Glossy areas (they need “tooth” for adhesion)
-
Peeling edges (feather them smooth)
-
Raised drips or old brush marks
After sanding, remove dust thoroughly (vacuum, damp wipe, or tack cloth).
5) Prime only when it’s actually needed
Primer is recommended if:
-
You’re on bare wood or bare metal
-
You repaired dents/patches and need an even base
-
You’re making a drastic color change (especially dark-to-light)
-
The existing paint is worn and chalky
Let primer dry fully before topcoating.
Painting steps
1) Start with detail areas
If your door has panels, paint recessed sections first, then the surrounding profiles/rails. This helps prevent heavy buildup in corners.
2) Paint edges strategically
Paint the hinge edge and latch edge carefully to reduce sticking. If the door stays on the frame, avoid flooding weatherstripping with paint.
3) Roll the flats for a cleaner look
Use a foam roller on the large flat areas. Work in controlled sections and keep a wet edge so lines don’t form as the paint starts to set.
4) Use thin coats
A thick coat is the fastest route to sagging, drips, and uneven sheen. Apply 2–3 thinner coats, allowing proper dry time between each.
5) Optional: sand between coats for a premium finish
After the first coat dries, lightly sand with 220 grit to knock down texture. Wipe clean, then apply the next coat.
6) Let it dry—and more importantly, cure
Dry-to-touch isn’t the same as fully cured. Give the paint enough time before reinstalling hardware, closing tightly against weatherstripping, or washing the surface.
Reassembly and final details
Once the finish is firm:
-
Reinstall hardware (or upgrade it for a bigger visual improvement)
-
Remove tape slowly for clean lines
-
Check the edges for sticking points
-
Touch up small misses with a fine brush
Maintenance tips
-
Clean occasionally with mild soap and water (avoid harsh abrasives).
-
Address chips early: light sand + small touch-up prevents moisture intrusion.
-
If the entry gets intense direct sun, expect more frequent repainting over the years—UV exposure is the biggest finish killer.
FAQs
Is satin okay for a front door, or should it be semi-gloss?
Satin can work if you want a softer look, but semi-gloss is often preferred because it’s more washable and tends to hold up better on a high-touch surface like a door.
Can I paint the door without taking it off the hinges?
Yes—many people paint the door while it’s still installed, as long as the edges, thresholds, and surrounding trim are protected and you control drips. Removing the door can make the process easier, but it’s not required.
Do I always need to prime first?
Not always. Primer is most useful on bare wood/metal, repaired spots, stains, or when making a big color change—otherwise a clean, lightly sanded surface may accept paint well.
What causes paint to peel or flake on a front door?
Peeling is commonly caused by poor adhesion from skipped cleaning/sanding, painting over damp or dirty surfaces, or moisture getting under the coating. Proper prep and allowing full dry time between coats reduces the risk.
How can I reduce roller texture (“orange peel”) on the finish?
Use a foam roller for the flat areas, apply thinner coats, and avoid overworking paint as it starts to set. Lightly sanding between coats can also smooth the surface before the next coat.
How many coats do most doors need?
Most doors look best with two coats, but a third coat may be needed if you’re covering a strong color, painting a textured surface, or aiming for an ultra-solid, even finish.
With the expert guidance from 3S Painting, you can achieve a professional-level finish that transforms your entrance. By following the step-by-step guide, you’ll enhance your home’s attractiveness and welcoming feel. Embrace this project to refresh your exterior and enjoy the impressive impact of a beautifully painted front door.

James Schrienk, a resident of Columbus, OH, is the proud owner of 3S Painting. With a wealth of experience in managing businesses of various scales, his expertise lies in project and people management. Jim thrives in team environments, always focusing on labor efficiency and delivering high-quality client results. His leadership style and practical communication skills have made him an exceptional manager and a driving force behind the success of 3S Painting. When he’s not leading his team to excellence, Jim enjoys continuously exploring innovative strategies to improve customer satisfaction.