Expert Advice For Painting Your Basement Right
When renovating a basement, painting often feels like the “quick win” on the checklist—until peeling, blotches, or musty odors show up weeks later. Basements behave differently than the rest of the home because of humidity, porous surfaces, and limited airflow. If you plan correctly and use the right products, you can get a clean, durable finish that actually lasts.
Use the steps below to avoid the most common basement painting mistakes and get results that look professional.
1) Start With a Basement Reality Check
Before picking colors or buying paint, confirm your basement is dry enough to paint. Even high-quality coatings can fail if moisture is coming through the walls or collecting in the room.
Look for warning signs like:
-
Damp spots or water staining on walls/floors
-
Musty smell or visible mildew
-
White, chalky residue on masonry (efflorescence)
-
Cracks that look active or widen over time
If moisture is present:
-
Fix leaks/drainage issues first
-
Run a dehumidifier and improve airflow
-
Delay painting until surfaces are fully dry
2) Prep the Surface Like a Pro
Basement painting success is mostly preparation. Skipping prep usually leads to poor adhesion, uneven texture, and early peeling.
Remove loose paint, dust, and debris
-
Scrape flaking areas and sand rough edges
-
Vacuum dust from concrete/masonry
-
Remove cobwebs and grime from corners and rim joists
Wash and dry thoroughly
-
Clean walls to remove dirt, chalky residue, or residue from past water events
-
Let everything dry completely before priming
Why it matters: paint sticks best to clean, solid, dry surfaces—anything else becomes a weak link.
3) Repair Cracks, Holes, and Leaks Before You Paint
Do not “paint over problems” and hope they disappear.
What to do first:
-
Patch cracks and holes with the right repair product for the wall type
-
Re-check repaired areas after drying
-
Seal gaps where air and moisture can move through (common near penetrations and edges)
If cracks keep returning or water continues to appear, pause and address the root cause before finishing the coating system.
4) Prime Correctly
Primer isn’t optional in most basements—especially on bare concrete, block, or patched areas. The goal is to create a consistent, bondable surface so the topcoat dries evenly and holds up.
Quick primer guide
| Wall surface | Most common issue | Primer approach |
|---|---|---|
| Concrete / block | Porous + dusty | Masonry/bonding primer designed for concrete |
| Stucco / textured masonry | Uneven suction | Masonry primer for consistent absorption |
| Drywall (finished basement) | Joint compound “flashing” | Quality drywall primer to unify sheen |
Application tip: Cut in corners first, then roll the field area. Pay extra attention to edges and patch zones—they’re the first places paint tends to fail.
5) Choose Basement-Smart Paint
Basements typically need coatings that tolerate humidity better than regular interior paint.
Look for paint that offers:
-
Moisture resistance
-
Mildew resistance
-
Washable/durable finish (especially for utility areas)
If you’re linking internally, this section is a good place to reference:
-
Your paint finish guide (internal link)
-
Your color/room mood post (internal link)
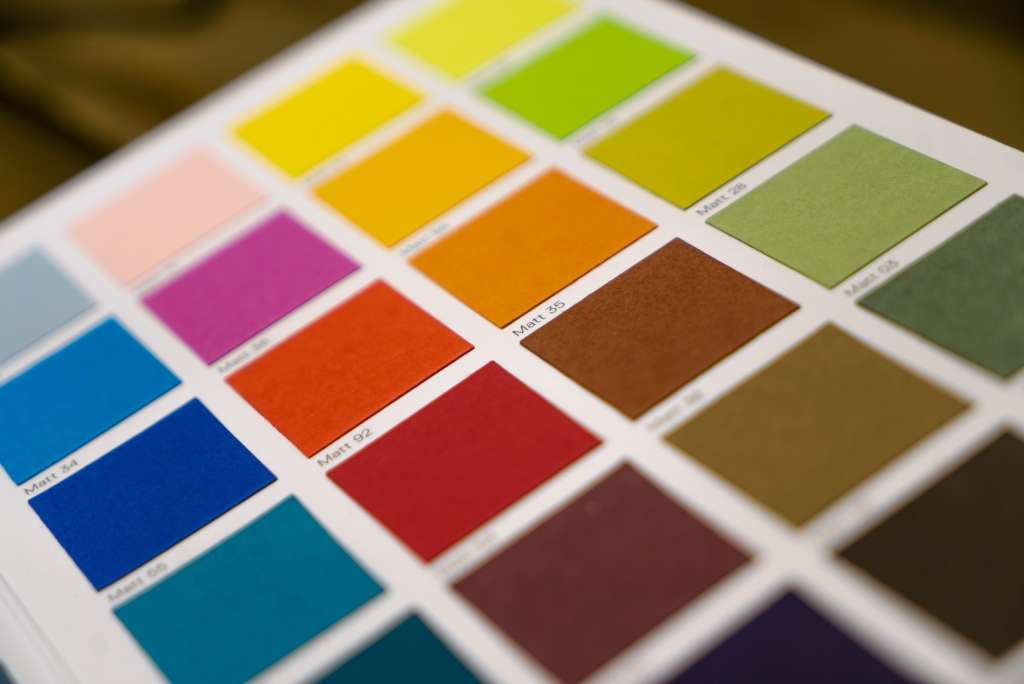
6) Always Test Color in Basement Lighting
Basements can shift colors dramatically because lighting is often cooler, dimmer, or uneven.
How to test correctly:
-
Paint sample swatches on 2–3 different walls
-
Check them in morning/day/night lighting
-
Confirm sheen (flat vs eggshell vs satin) looks right from multiple angles
This prevents the “it looked great upstairs” problem.
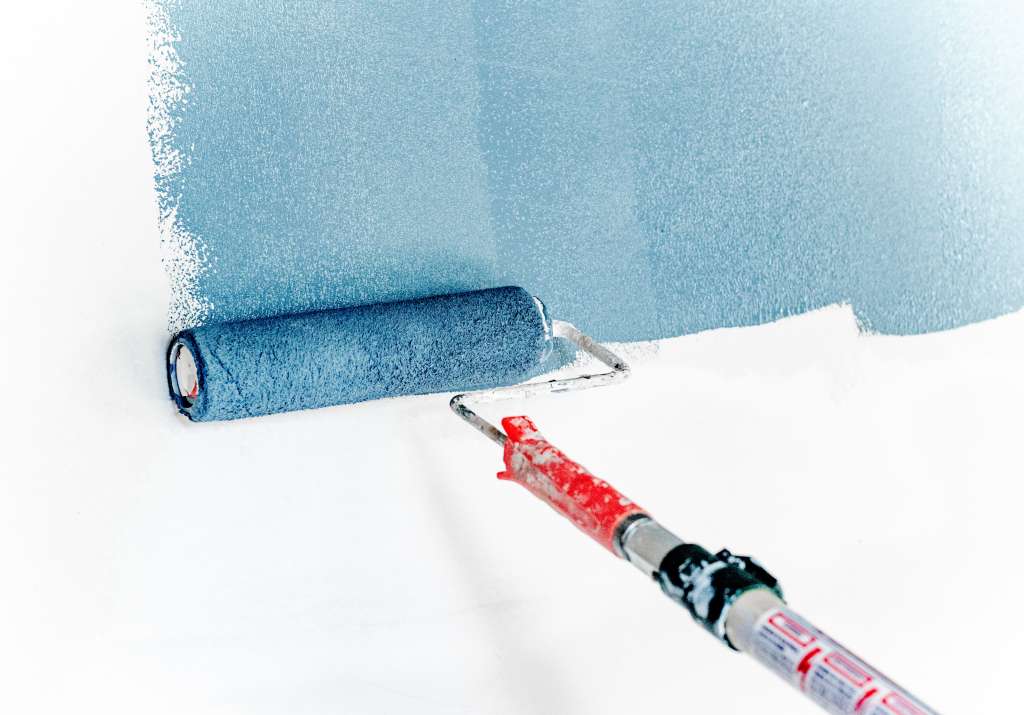
7) Apply Paint the Right Way
Basement surfaces often need more material than you expect.
Best practices:
-
Plan for two full coats (minimum)
-
Follow dry-time instructions (humidity can slow drying)
-
Keep air moving with fans, and ventilate when possible
-
Avoid painting when the basement is extremely humid
Rookie mistake: One heavy coat to “save time” usually dries unevenly and won’t last as long as two proper coats.
8) Don’t Forget Ventilation
Poor airflow is one of the most overlooked basement painting issues. Without ventilation, paint dries slower, fumes linger longer, and the finish can stay tacky.
Simple fixes:
-
Use box fans or an exhaust fan
-
Open windows/doors when weather allows
-
Take breaks and keep the area comfortable and well-aired
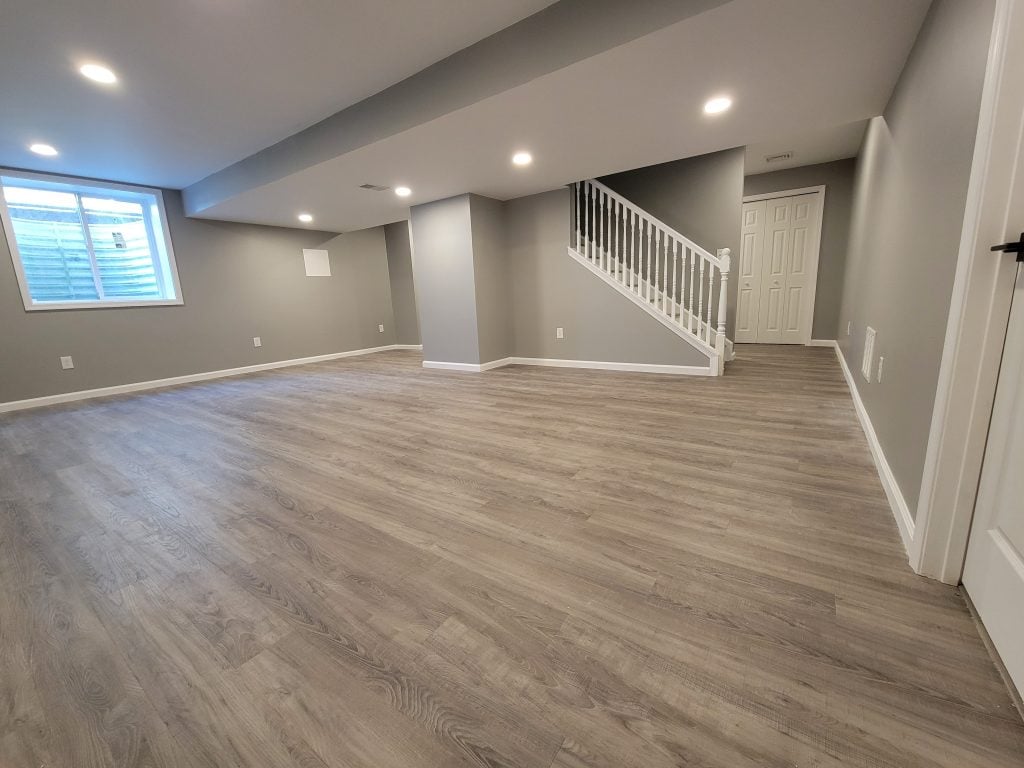
Want a Basement Finish That Lasts?
A great basement paint job isn’t about rushing—it’s about moisture control, correct prep, and using products that match basement conditions. If you want help choosing the right system (primer + paint) or want a clean professional finish without the hassle, schedule a basement painting estimate with your local team.
FAQ
1) What causes paint to bubble or blister on basement walls?
Bubbling usually happens when moisture vapor pushes through masonry or when paint is applied over a surface that wasn’t fully dry, clean, or compatible with the coating system. A dehumidified, dry surface plus the right primer/paint combination prevents most blistering issues.
2) Do concrete block basement walls need a special paint system?
Yes—block and poured concrete are porous and can hold fine dust, so they typically need a masonry-appropriate primer (or sealer/primer combo) before the finish coat. This helps the topcoat bond evenly and reduces patchy “soaking in.”
3) How long should basement walls dry after cleaning before painting?
Dry time depends on humidity and airflow, but the goal is “fully dry to the touch” with no cool/damp areas, especially near corners and the bottom course of block. Using fans and a dehumidifier speeds up drying and reduces future adhesion problems.
4) What’s the best way to handle efflorescence (white powder) before painting?
Efflorescence should be removed before priming because it can prevent proper bonding and can reappear under paint if moisture continues. Brush it off thoroughly, clean the surface, and address the moisture source before applying primer and paint.
5) Is it better to use light or dark colors in a basement?
Lighter colors often make basements feel brighter and larger, especially with limited natural light, while darker colors can work well for media rooms if lighting is controlled. Testing samples on multiple walls is the safest way to avoid unexpected color shifts.

James Schrienk, a resident of Columbus, OH, is the proud owner of 3S Painting. With a wealth of experience in managing businesses of various scales, his expertise lies in project and people management. Jim thrives in team environments, always focusing on labor efficiency and delivering high-quality client results. His leadership style and practical communication skills have made him an exceptional manager and a driving force behind the success of 3S Painting. When he’s not leading his team to excellence, Jim enjoys continuously exploring innovative strategies to improve customer satisfaction.