If your siding looks tired, you’re not alone—Central Ohio’s freeze–thaw cycles, humidity, and strong sun can wear paint down quickly. The good news? With the right plan, your home can go from faded to fresh and stay that way for years. Below is a homeowner-friendly playbook shaped for Columbus weather, timelines, and budgets—plus what to expect when working with exterior house painters in Columbus, Ohio.
Why Columbus Weather Changes the Game
Central Ohio throws the whole meteorological menu at your siding: cold winters, quick spring warmups, humid summers, and leaf-drop autumns. Those swings move wood and firmly test paint film.
- Freeze–thaw stress: Expansion and contraction open hairline cracks, allowing moisture to enter.
- Summer UV: Sunlight bakes south- and west-facing elevations, fading colors faster.
- Humidity + rain: Trapped moisture under paint becomes blisters and peeling.
- Wind-blown grit: Micro-abrasion dulls the sheen and makes surfaces harder to clean.
Knowing this helps you pick coatings, plan timing, and set maintenance expectations.
Timing Your Project for Central Ohio
You don’t need a six-month window; you need the right window.
- Spring (April–May): Great for priming and early coats as temps stabilize.
- Early Summer (June): Reliable cure times, but watch humidity and storm forecasts.
- Late Summer to Early Fall (August–October): Often ideal—warm days, cooler nights, fewer deluges.
- Late Fall/Winter: Most exterior work pauses unless temps and products allow cold-weather application.
Aim for daytime highs within the product-specified range (often 50–90°F) and for dry stretches of 24–48 hours around each coat. Shade work in peak sun to reduce lap marks and flashing.
Prep Is Everything (Here’s a Columbus-savvy Checklist)
Surface prep is where longevity is won or lost. Ask your painter about each item below and watch for these standards on-site:
- Full wash:
- Low-pressure rinse to remove chalking, dirt, algae, and loose paint.
- Mildew treatment as needed (especially on north- and east-facing elevations and shaded trim).
- Dry-down & testing:
- Surfaces must be dry before sanding/priming.
- Moisture meters are useful for suspect boards and trim ends.
- Scrape & sand:
- Feather edges where paint failed; remove all loose material.
- Profile glossy surfaces so new paint can grab.
- Repairs:
- Replace rotten trim/soffit sections; don’t bury rot in filler.
- Reset popped nails and set new fasteners below the surface.
- Caulk gaps at joints and around penetrations with paintable, exterior-grade sealant.
- Spot prime / full prime (as needed):
- Bare wood gets exterior primer—consider stain-blocking on tannin-rich woods.
- Chalky surfaces may benefit from a bonding or masonry primer (for stucco, block).
- Protect & mask:
- Cover landscaping, windows, and fixtures; pull mask lines clean for crisp edges.
Pro tip: In Columbus, fascia boards and window sills often fail first. Prioritize a prime-and-seal approach there, even if the rest of the house only needs spot priming.
Choosing the Right Paint (Sheen, Resin, and Color)
Resin type:
- 100% acrylic exterior paints are the workhorse for Central Ohio—flexible, color-retentive, and water-resistant.
- For masonry, ask about elastomeric or masonry-rated acrylics that bridge hairline cracks.
Sheen selection:
- Satin/low-lustre on siding balances cleanability with modest surface forgiveness.
- Semi-gloss on trim, doors, and shutters highlights detail and handles frequent cleaning.
- Flat hides surface imperfections but is less washable; best reserved for select substrates.
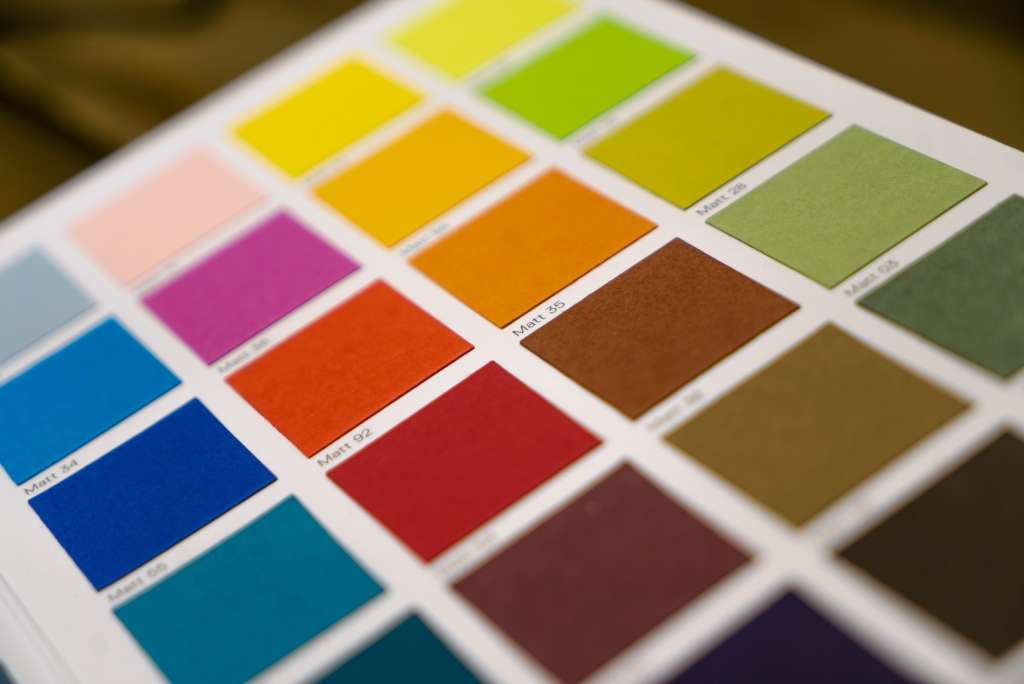
Color strategy for Ohio light:
- Mid-tones endure fade better than ultra-dark colors on sun-soaked sides.
- High-contrast trim gives punch without repainting the entire body anytime soon.
- Test swatches on different elevations; evaluate morning vs. afternoon.
Columbus-Smart Color Tips
Looking for timeless curb appeal that suits local architecture?
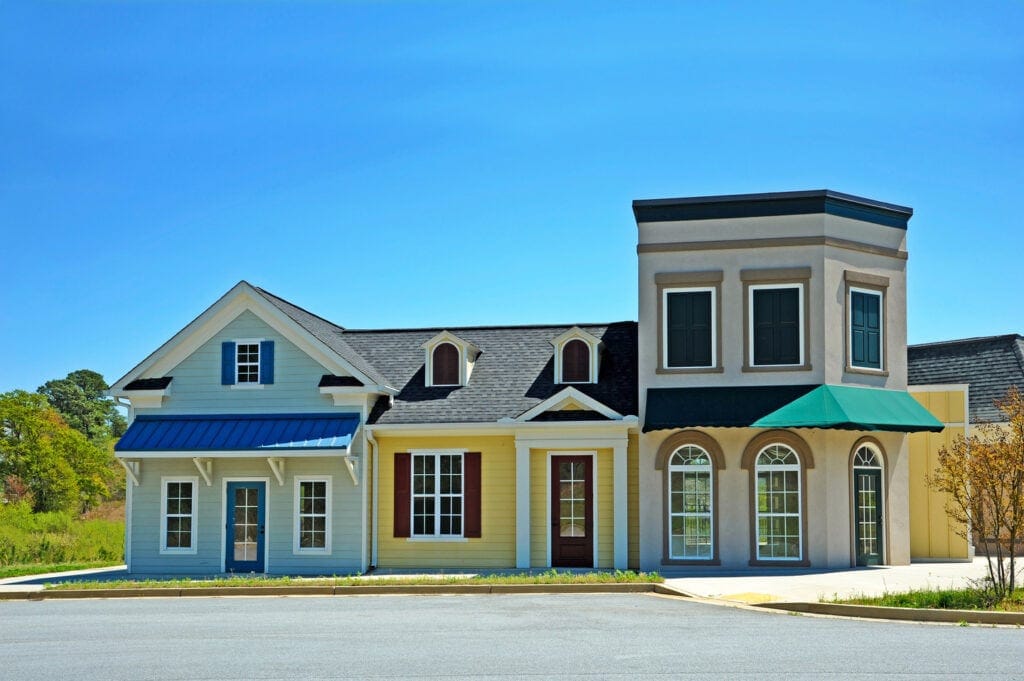
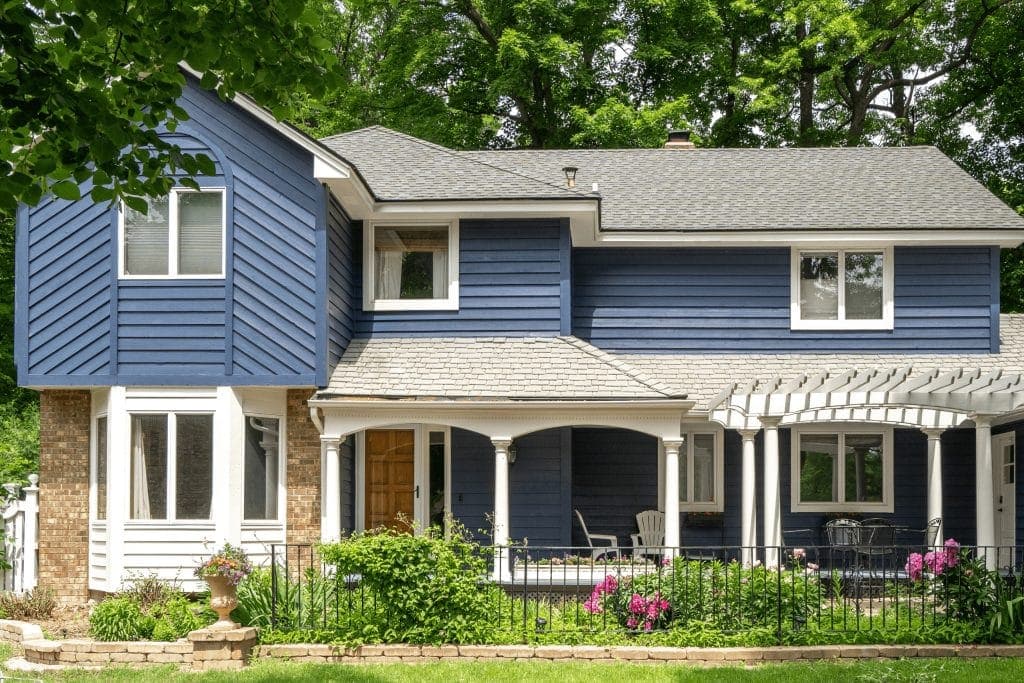
- Historic districts & older homes: Warm grays, desaturated greens, and brick-friendly taupes.
- New builds & suburbs: Clean off-whites with charcoal trim, or soft greige with deep navy shutters.
- Brick + siding combinations: Choose a body color that complements the brick’s undertones (e.g., greige for orange-red brick, cool gray for purple-brown brick).
Not sure where to land? Sample large swatches on the south- or west-facing walls—those areas see the hardest light and will tell you how the color will truly read.
The Professional Process: What It Looks Like Day-to-Day
A streamlined exterior repaint in Columbus typically follows this rhythm:
- Day 1–2: Wash, dry-down, site protection.
- Day 2–4: Scrape, sand, repairs, caulking, spot/full priming.
- Day 4–6: First coat on siding, then trim; manage exposures for best leveling.
- Day 6–7: Second coats, detail work, touch-ups, final walkthrough, and cleanup.
Crew size, home size, substrate condition, and weather can shift this, but the milestones stay similar.
Spray vs. Brush & Roll (And Why Both Matter)
- Spray + back-roll on siding delivers even coverage and pushes paint into pores.
- Brush & roll on trim and details prevent overspray and yield crisp edges.
A skilled team uses both, not one or the other, to dial in coverage, adhesion, and finish quality.
How Long Should an Exterior Paint Job Last Here?
With solid prep and top-tier coatings, Columbus homeowners can expect:
- Siding: ~7–10 years for repaints (longer on newer, stable substrates).
- Trim: ~5–7 years, as trim receives more water and sun exposure.
- Front doors & handrails: ~3–5 years; these take daily use and direct touch.
Annual quick checks (spring and fall) help you catch minor issues before they become full-scale failures.
Maintenance for Staying New-Looking Longer
- Gentle wash once a year: Rinse dust and pollen; address algae early.
- Re-caulk micro-gaps: Fill joints and end grains as they open.
- Touch-up kit: Keep a labeled quart for ding fixes on doors, rails, and high-traffic trim.
- Trim watch: The bottom edges of sills, fascia ends, and kick-out flashing areas require extra attention.
DIY or Hire? A Realistic Columbus Cost–Time Tradeoff
DIY advantages: control, learning, potential savings.
DIY challenges: ladders, safety, weather windows, and the sheer hours of scraping, sanding, and masking.
If your home is two-story with mixed substrates, dormers, and lots of trim, a professional crew usually outperforms DIY on both timeline and finish consistency. A pro’s systemized preparation safeguards your investment.
What to Look For in a Local Painter
- Local experience: Ask how they handle Central Ohio humidity, spring storms, and winter prep.
- Detailed scope: Identify line-item prep (washing, scraping, sanding, priming), exact paint products, and coat counts.
- References and photos: Before-and-after shots of homes like yours are valuable.
- Insurance & licensing: Protects you and the crew.
- Clear communication: Start/finish window, daily updates, and a final walkthrough checklist.
If you’re comparing bids, level the playing field: the same surfaces, the same prep steps, the same paint line, and the same number of coats. That way, price differences reflect efficiency and craftsmanship—not missing prep.
Budgeting: What Drives Price in Columbus
- Size & complexity: Gables, dormers, porches, and decorative trim add time and complexity.
- Condition of existing paint: Heavy scraping and repairs will require additional labor.
- Substrates: Wood, fiber cement, stucco, and aluminum each have their quirks.
- Access: Steep grades or tight lot lines slow setup.
- Color changes: Switching from dark to light (or vice versa) can require extra coats.
A thoughtful estimate will explain these levers and how they apply to your home.
Problem-Solving the Most Common Exterior Issues
Peeling on sunny sides? Likely UV breakdown, moisture intrusion, or both. Check caulk seams and fascia end grains.
Tannin bleeds on wood? Use a stain-blocking primer;don’tt chase with extra topcoats alone.
Chalking on old paint? Clean thoroughly and consider a bonding primer before topcoats.
Algae on shaded walls? Clean, let dry fully, then apply coatings labeled for mildew resistance.
Hairline cracks in stucco? Masonry primer or elastomeric systems can bridge micro-movement.
A Note on Environmental & Safety Considerations
- Lead safety: Homes built before 1978 may have lead-based paint. Pro crews trained in lead-safe practices contain dust and debris for everyone’s health.
- Landscaping care: Reputable teams protect plantings and avoid chemical overspray.
- Responsible cleanup: Properly dispose of chips, caulk peels, masking tape, and leftover materials to protect your yard and storm drains.
When You’re Ready to Paint
If you’re weighing options or want guidance tailored to your siding, trim, and timeline, connect with local exterior house painters in Columbus, Ohio, for an on-site look and a clear, written scope. Even a quick curbside assessment can flag moisture trouble spots and give you a realistic schedule. You can also ask about broader Columbus exterior painting services here: Columbus exterior painting services.
Quick Reference: Your Exterior Painting Checklist
- Confirm the weather window (temps, rain, humidity).
- Wash, dry, scrape, sand, repair, prime.
- Use 100% acrylic exterior paint; match sheen to surface.
- Apply two finish coats to the siding and trim as needed.
- Walk the job with your painter and keep a touch-up kit on hand.
- Check trim annually, especially sills and fascia ends.
FAQs
1) How early in the year can we paint outside in Columbus?
Once daytime highs consistently meet the product’s minimum (often around 50°F) and nights don’t dip too far below, you’re in the safe zone. Spring and late summer into fall are typically best.
2) Can I do siding now and trim later?
Yes, but plan it. Trim is your first line of defense against water. If you split phases, ensure the trim is sound and properly sealed before deferring it.
3) What paint sheen should I choose for my siding?
Satin/low-lustre is a sweet spot for most Columbus homes—durable, easier to wash, and forgiving of surface texture. Use semi-gloss on doors and trim.
4) How do I know if my home has lead paint?
Homes built before 1978 might. Ask for lead-safe practices or testing. If present, the crew should follow containment and cleanup rules to control dust.
5) How many coats are typical?
After primer (spot or full), expect two finish coats for color depth and durability, especially when changing colors or painting weathered surfaces.

James Schrienk, a resident of Columbus, OH, is the proud owner of 3S Painting. With a wealth of experience in managing businesses of various scales, his expertise lies in project and people management. Jim thrives in team environments, always focusing on labor efficiency and delivering high-quality client results. His leadership style and practical communication skills have made him an exceptional manager and a driving force behind the success of 3S Painting. When he’s not leading his team to excellence, Jim enjoys continuously exploring innovative strategies to improve customer satisfaction.